
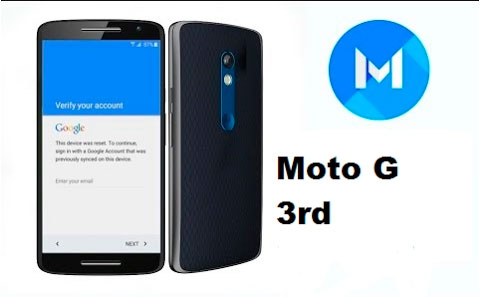
If you need remove google moto g3 account Because you want to link another or you want to leave your mobile device clean to sell it, you can do it in a few simple steps.
The method to remove google moto g3 account
The method for remove google moto g3 account It is very simple by following all these steps:
Step 1: First of all you will need to insert the SIM card to your mobile phone.
Step 2: Then you will go to wi fi networks and to open the Google keyboard, press Add another network.
Step 3: You have already opened the keyboard, so with the (,) key pressed, you will see that keyboard configuration options appear and you will press Select Input Method.
Step 4: Choose Japanese Keyboard.
Step 5: Where you were typing you will see that next to the space key there is a world, press it to change the language and enter Japanese.
Step 6: Hold down the left key below and you will see settings options.
Step 7: Choose Japanese input.
Step 8: Scroll down and click Open Sources Software.
Step 9: Go anywhere in the text and press and hold it and then press the three points that you will see and choose Share.
Step 10: With the text message option you will share.
Step 11: You will send the message to * 611 and of course to do this you will press Send, for this reason it is necessary that the SIM card is inserted into the mobile phone.
The message will not be sent but the call icon will be activated.
Step 12: You will call that number and when the call is linked you will see Add call and press it.
Step 13: Dial this code on the dial pad: * # * # 4636 # * # * and a hidden menu should appear at that time.
Step 14: Press Information and with the back arrow pressed that you will see at the top of the screen you will exit the menu.
Step 15: Now you should see the settings of your mobile phone, otherwise if you don’t see them click on Usage Statistics.
Step 16: When you located Settings, go to About Phone and then press several times on Build Number and in this way you will get the developer’s permissions.
Step 17: Go back and enter Programmer and then activate USB Debugging and you will see that it asks you the action you want to perform with the mobile device connected to a computer.
Step 18: Go back and go to Applications.
Step 19: Press the three dots in the upper left part and choose System since by default you will see all the applications that the system has.
Step 20: Find the Configuration Assistant application and press Force Stop and in this way you will see the two buttons below that were missing.
Step 21: Connect the mobile phone to the computer.
Step 22: Installs the Motorola Device Manager software to the computer.
Step 23: Now download ADB tools. It is a rar file, which after extracting it you will have to open the folder called platform tools.
Step 24: Choose Camera (PTP) in programmer options.
Step 25: Go back to platform tools and with Shift pressed right click on a blank space inside the folder.
Step 26: Choose Open Command Window Here and you will see the command window.
Step 27: Download the command file from Google and in the command window you will type:
command adb shell content insert –
-uri content: // settings / secure –
-bind name: s: user_setup
_complete –bind value: s: 1
And once you have written the code, click enter.
Step 28: Close the command window and disconnect the mobile phone from the computer.
Step 29: Go back to Settings and your mobile phone will finally be unlinked from the Google account.
Video: Delete Google Account Motorola G3, G2, G4, E2, X
Video: Delete ALL Motorola Google Account
https://www.youtube.com/watch?v=qSWVpvtJHq0